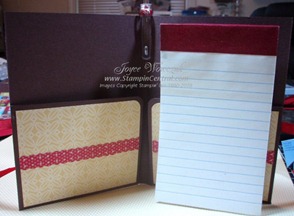
Please forgive the photo quality of my pictures, my camera seems to be trying my patience today … it won! Remember, if you want to see any of the photos larger, just click on them.
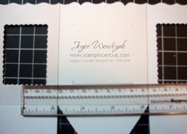
As promised, over the next few days I will be posting the instructions and/or project recipes for items I created for Stampin’ Addicts Stampin’ Up! New Catalog blog tour. Today I am going to reveal how I created my Tea Light holder box. For the sake of photography, I used a scrap piece of white paper and drew lines in pencil to show where the score/fold marks are on the fancy favor box. While this die does call for a 12” sheet of cardstock, I used an 6” x 11” piece – making sure that I placed the paper at the very end of the die that did NOT have the overlap. This resulted in the overlapping tab (on the right side of the photo) being cut at approx. 1/4”, definitely enough for a piece of sticky strip to hold it all together.
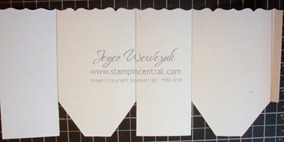
After cutting the base of the box, I used the Clearlits Scallop Rectangle die to cut the 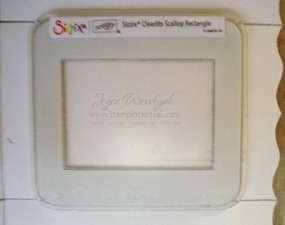 inserts on the narrow side panels only. I eyeballed this, trying to center it on the panel – then cranked it through my Big Shot … repeating the process for the second narrow panel.
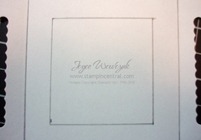
Now grab your ruler, this is where the real technical (NOT) stuff comes in! In the photo below, see how I have my ruler running right along the scalloped edge of those 2 scalloped panels? I marked a dot about 1/2” in on each side, then drew a line between those two dots … moved to the top of the box and did the same thing. MAKE SURE TO DO THIS ON THE INSIDE OF YOUR BOX! Then I connected the top and bottom dots to create my cut lines.
Using a craft knife and ruler, I cut out on those lines – leaving a nice little opening for my decorated vellum cardstock piece. Do the same thing on the last panel. You should now have 4 openings in your candle holder and the hard part is done!
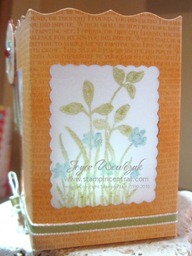
I wasn’t sure as to the result of heat embossing on normal vellum paper so I opted to use the heavier vellum cardstock from Stampin’ Up!. I measured the openings, added approximately 1/2” to the top and side measurement, then cut my vellum pieces. I inked my stamp up with Versamark, colored with markers, stamped the image on the vellum, sprinkled with iridescent ice embossing powder and heated it all up. The result was exactly as I hoped! Attach these pieces to the inside of the panels with snail (I placed the embossing on the outside). A few pieces of sticky strip to put the box together and you are finished!!!
Again, I opted to use battery operated tealights (2 fit nicely inside this box) – I did not want to test the waters and see if paper really burned. <grin>
Project Recipe:
Stamps: Just Believe
Paper: Cajun Craze, Peach Parfait DSP, Vellum Cardstock
Ink: Peach Parfait, Not Quite Navy, Old Olive (marker), Not Quite Navy (marker)
Accessories: rhinestone brad, paper flower, sponge, 1/8” ribbon, iridescent ice embossing powder, circle punch, birds & blooms die (scalloped circle)


